Yeah, you heard us right; we built a DIY outdoor sauna and put it in the Whistler backcountry. I mean, what else is there to do in-between seasons? Just kidding, there is a tonne. So much, in fact, our last video is all about embracing Whistler in the fall and the change of seasons. While we think we did damn good job showing off our backyard in a traditional sense, here’s a look at a not so traditional take on prepping for winter! But don’t just let us tell you about it, watch it for yourself.
DIY Outdoor Sauna Q&A with Kris Harris
From start to finish, Beacon Media Group handcrafted a beautiful sauna to assemble anywhere of their choosing. The ideal location includes a view, some icy cold water, a great beer and a bunch of friends! With a structure as stunning as this, we couldn’t help but ask, HOW?! So literally, we did. We caught up with Kris Harris of Beacon Media Group for the behind the scenes details on how he built the DIY outdoor sauna in the backcountry.
First of all, where did the idea come from to build a DIY outdoor sauna?
I’ve been intrigued by hot/cold therapy for a few years and am a strong believer in its health benefits. With winter just around the corner, it seemed like a backcountry sauna would be perfect for cold fall days and later on, après ski sessions.
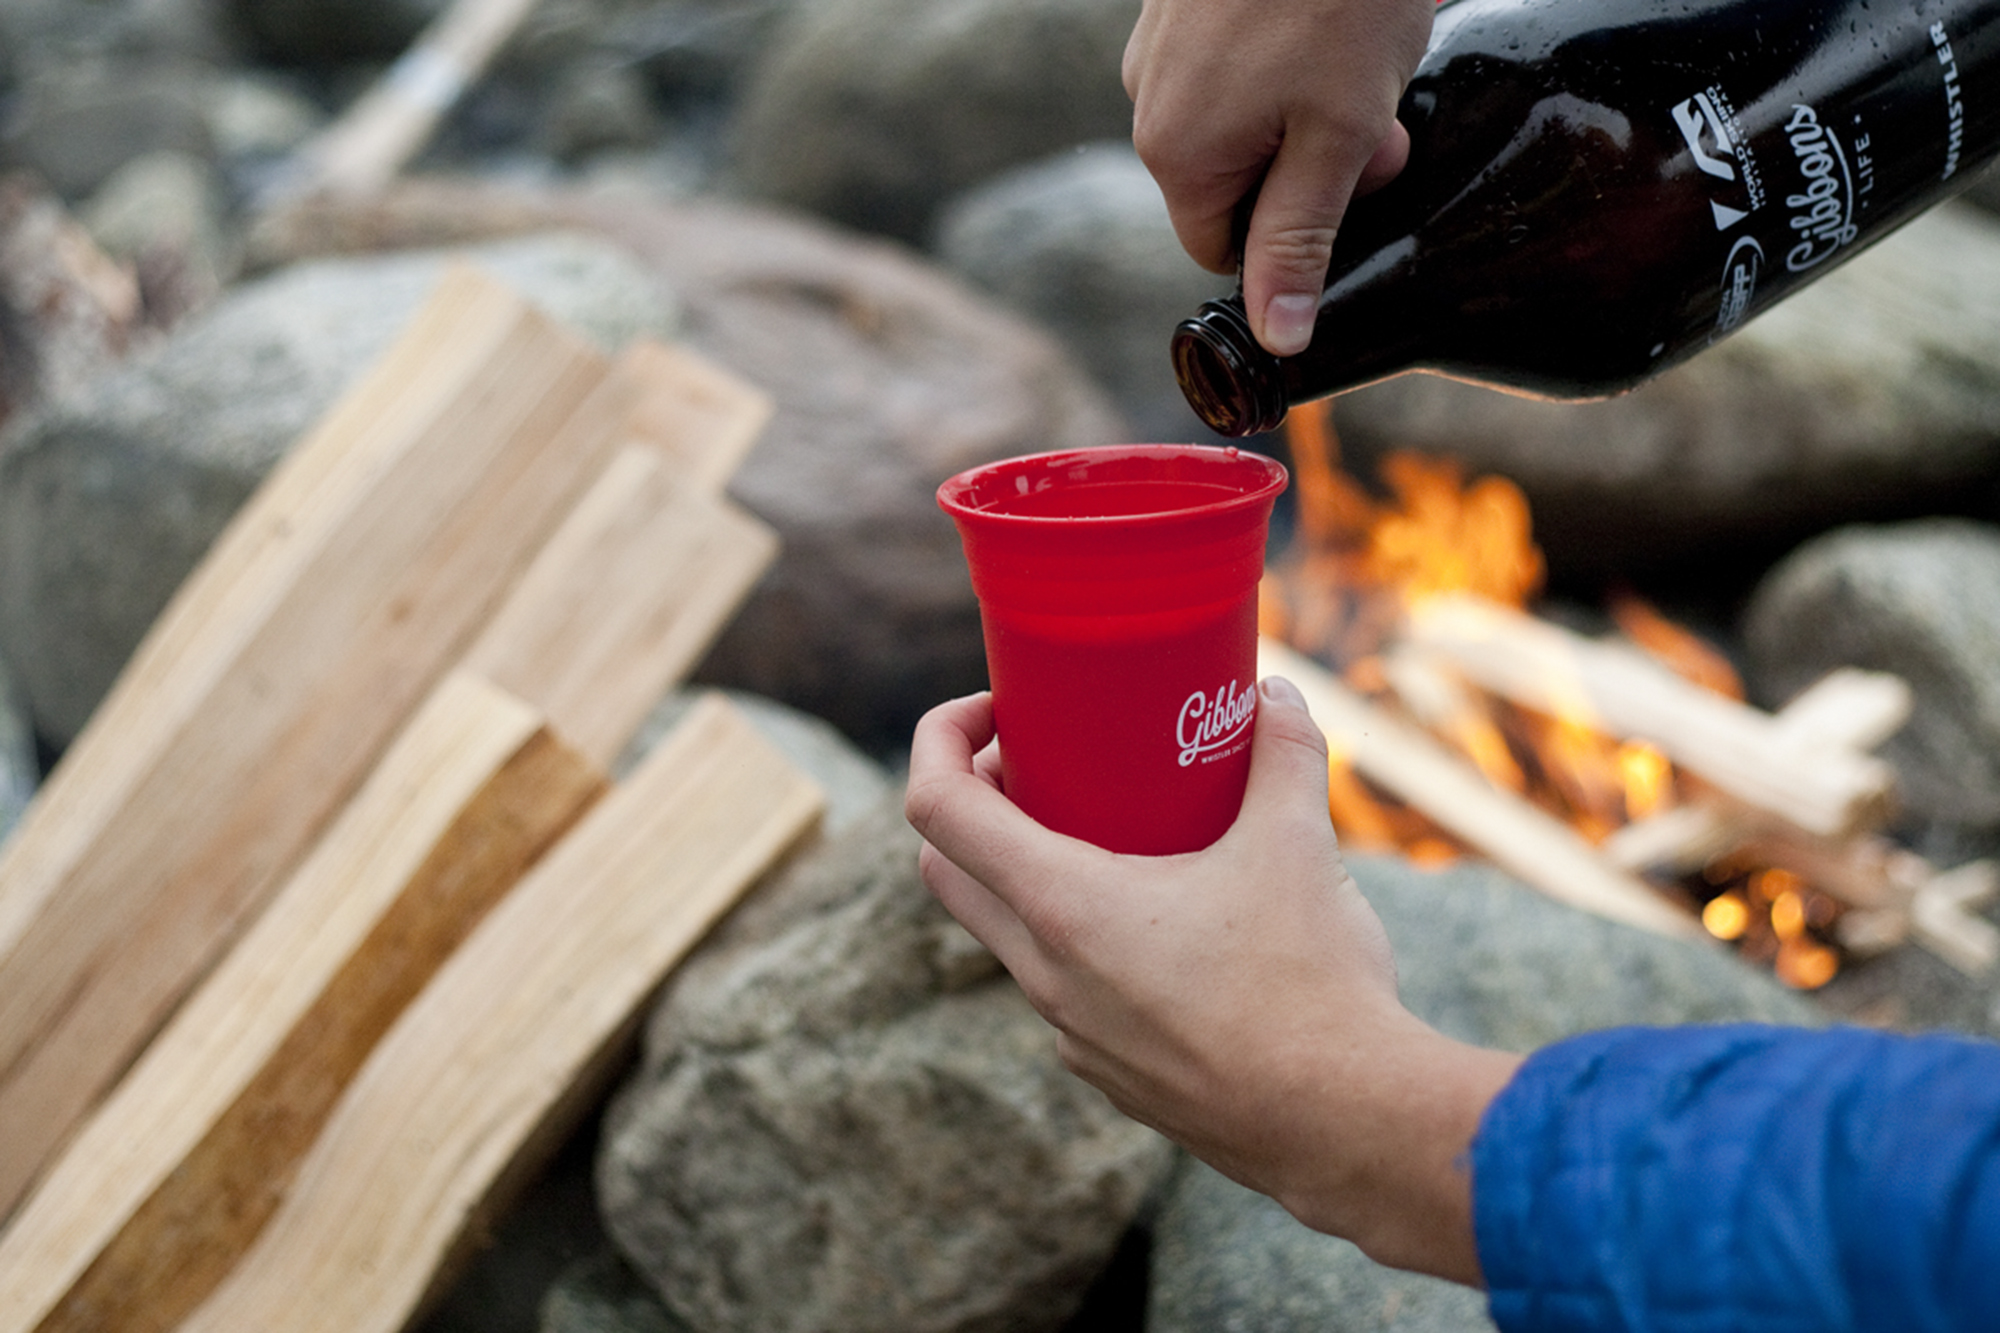
A crackling fire, a sauna on its way and the perfect beer to wash it down. Now that’s our kind of hot/cold therapy.
What type of sauna did you build and why did you choose this particular style?
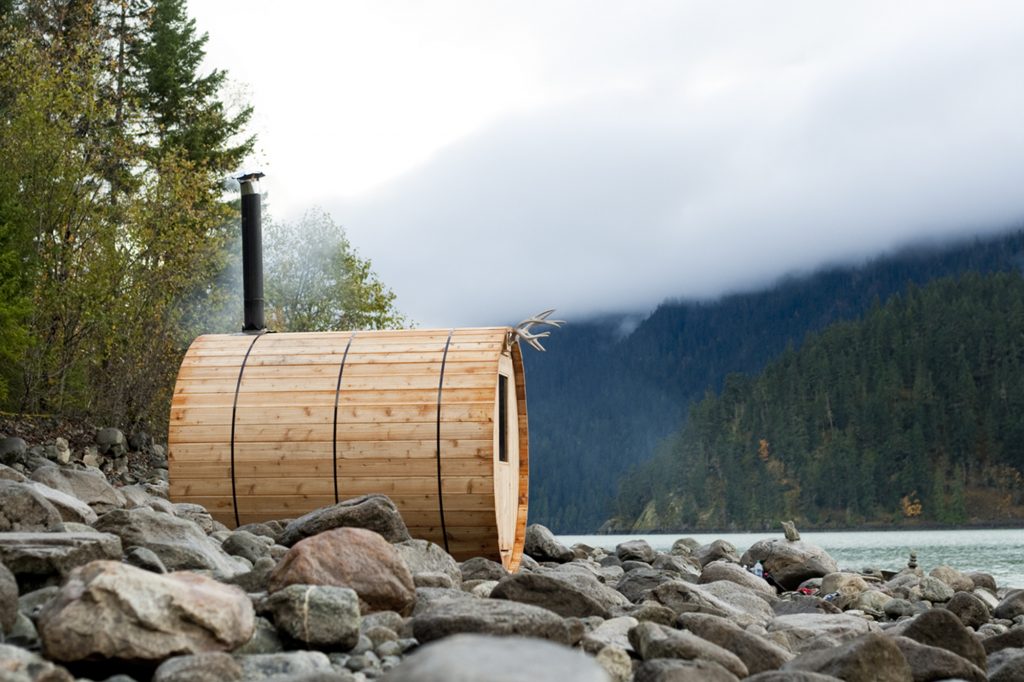
We went for a barrel design, mainly because of its simplicity. The entire sauna is made from 2×6’s of Western red cedar, no special insulation, flooring or roofing was needed. This makes for very fast construction, once you cut all the joints into the wood – which wasn’t as quick.
Where does one begin when making a sauna from scratch?
There are some kit builds out there, but they’re all upwards of $6,000. We started with a sketch, some basic math and then went on the hunt for cedar, which is easy to find being in BC. Once we got the eighty-two 2×6’s, we got to work making a bead and cove joint on 50 of the planks, which would become our staves. Next, we made tongue and groove joints on the other thirty-two pieces, which would become the front and back walls of the sauna. Finally, we cut the tongue and groove walls into circles and cut dado joints into the staves so the front and back discs would slot in without the need for screws and nails. That process alone took us two very long days. Lastly we built a stove, which turned out to be a rewarding welding project, then we scoured around Whistler for volcanic rocks to sit on the stove.
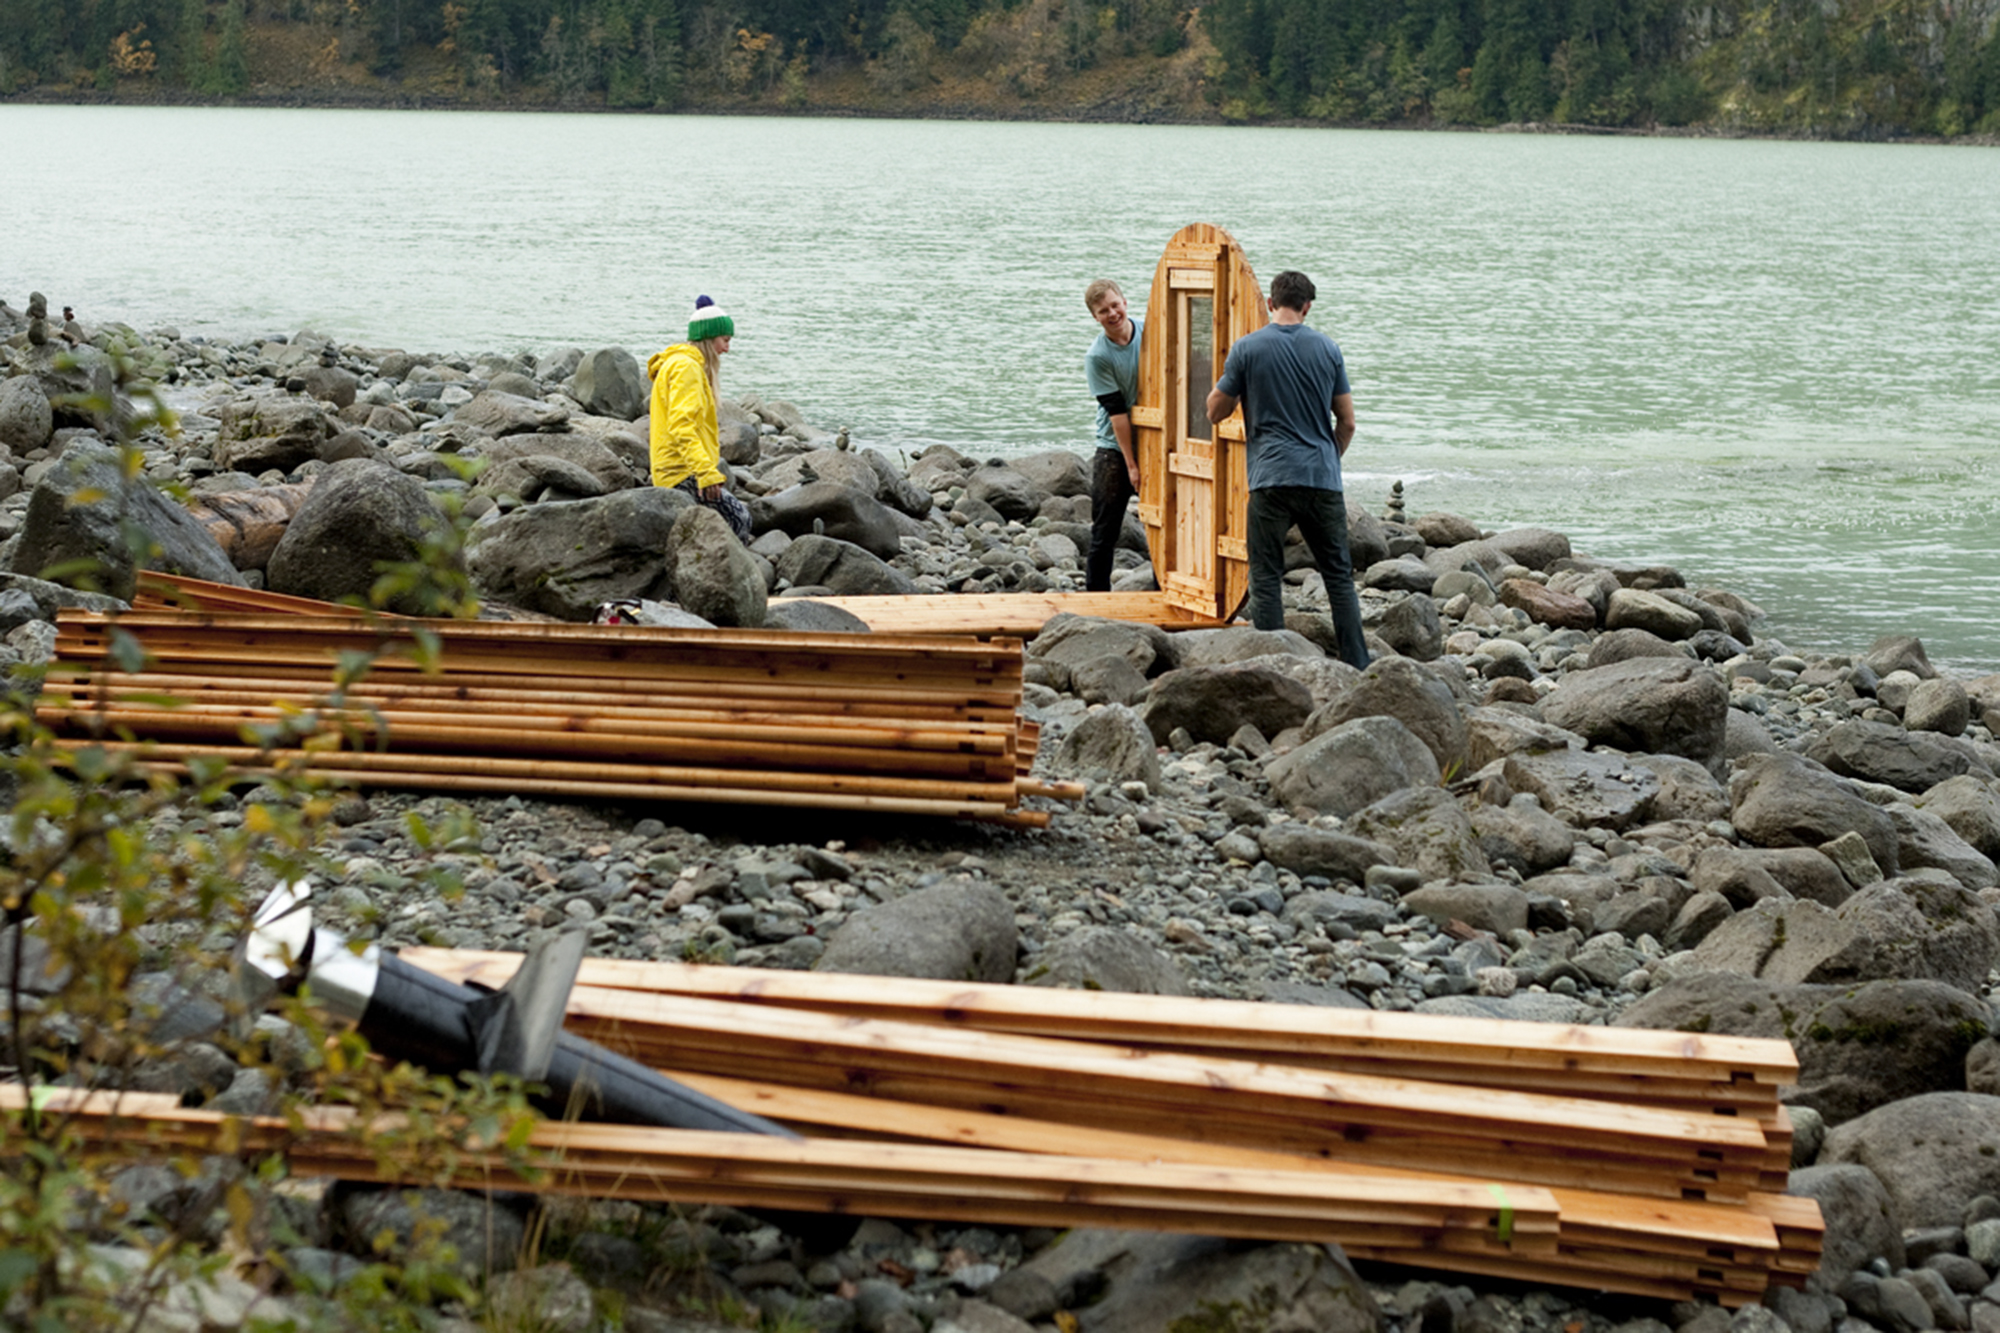
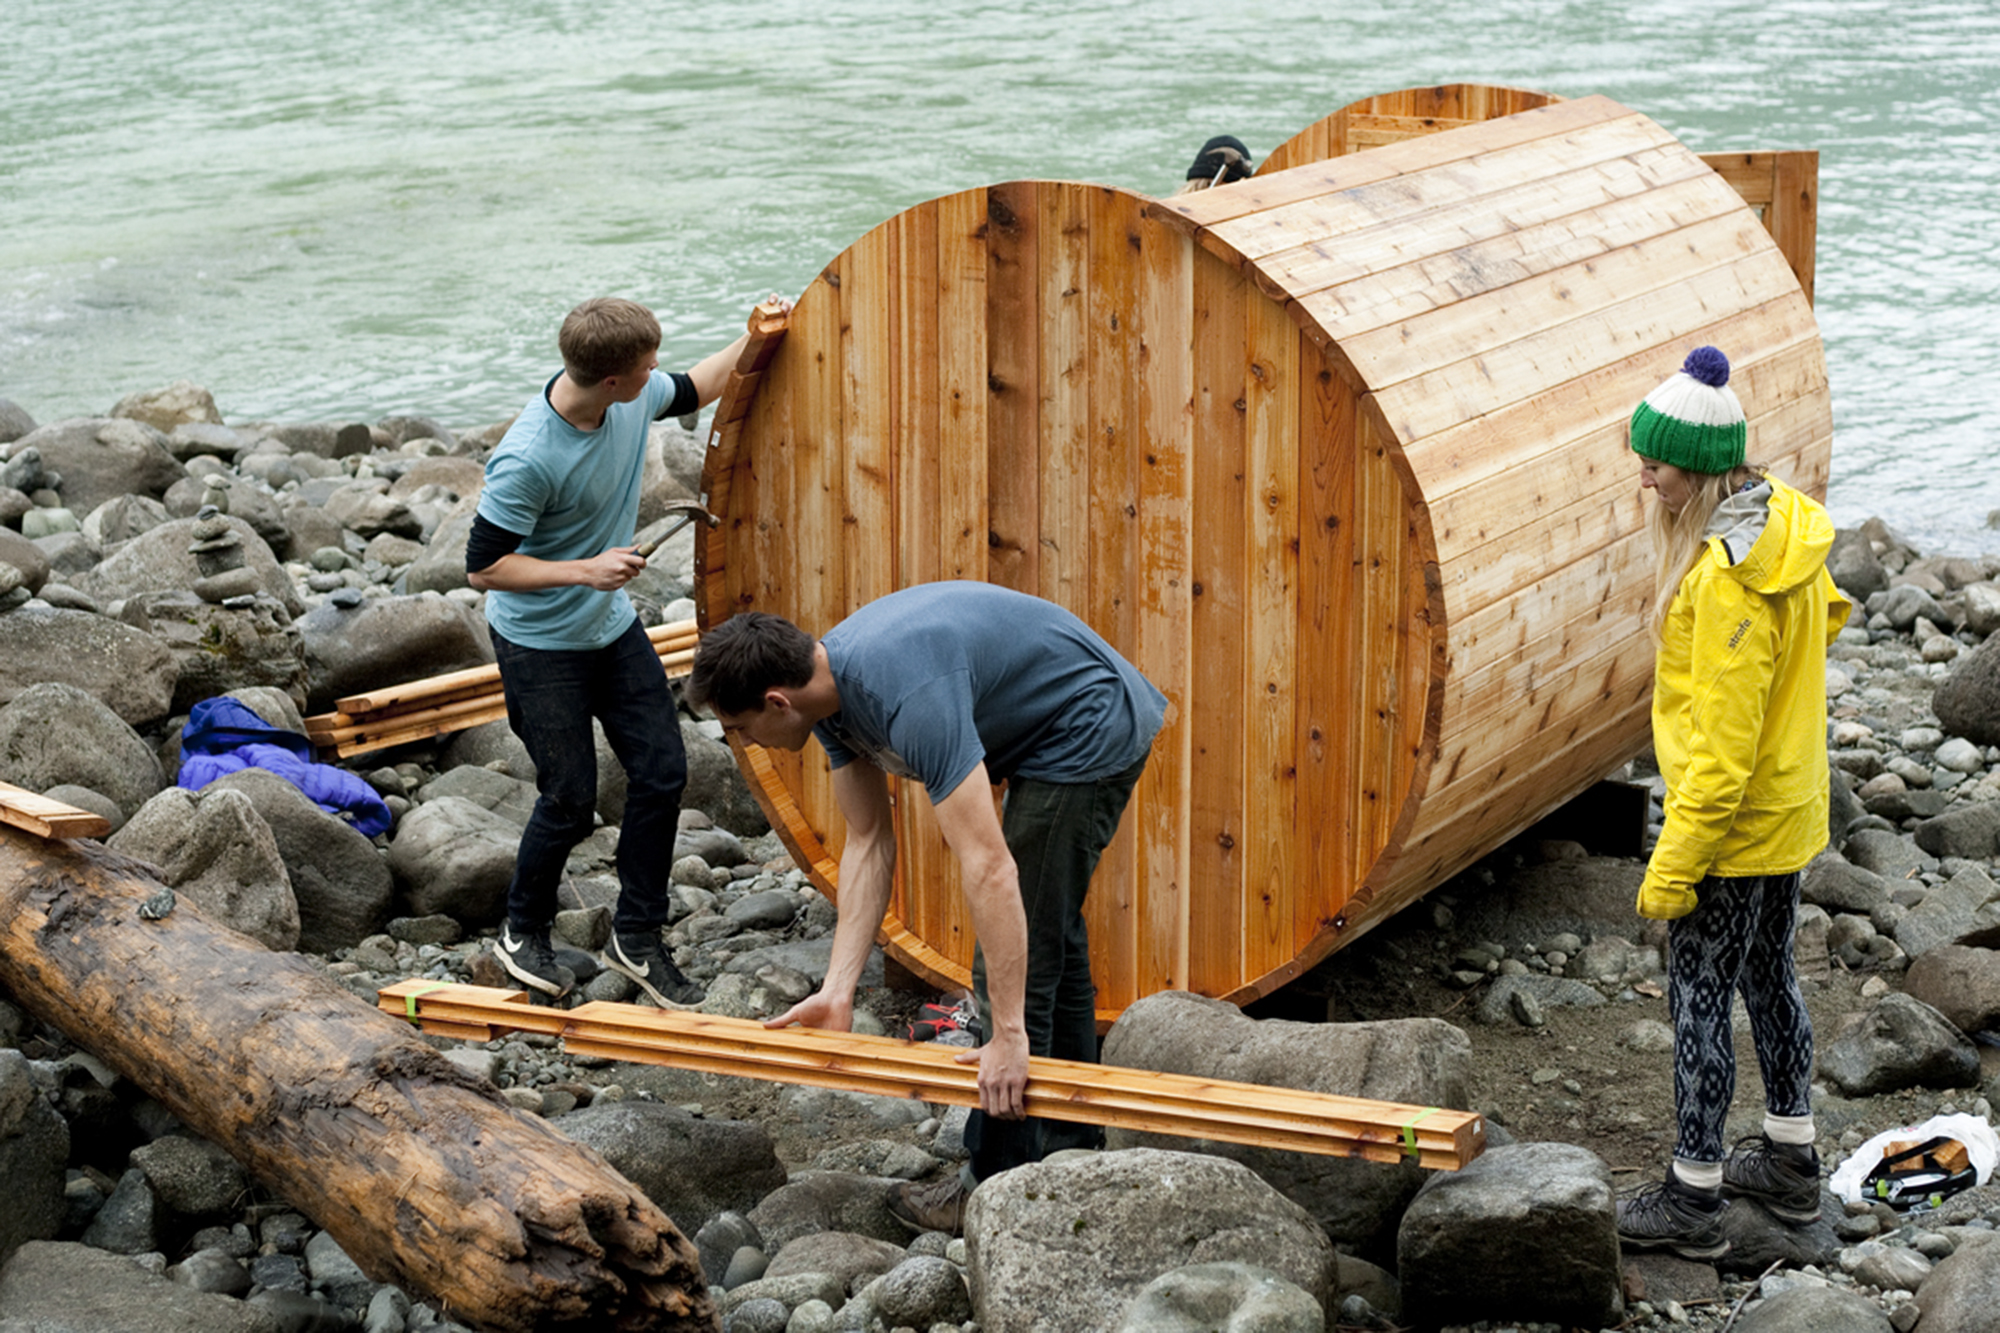
Getting started. The team from Beacon Media Group assembling their outdoor sauna.
Did you follow a template or plan?
We couldn’t find any plans out there so we derived our design from some pictures we found online and a similar sauna I’d been to at a spa.
If you could list five steps to making a DIY outdoor sauna what would they be?
- Take time prepping the project. This will pay off exponentially later on (measure twice, cut once). The whole build took two of us 2.5 days and the first two days went into planning and cutting. The final construction took under an hour.
- Be picky when it comes to wood. Look at every piece you get and make sure it’s not warped or bowed. The fewer knots, the better and if budget isn’t an issue, try to find clear cedar.
- Use proper tools. To build a barrel sauna, you need to router over 1200 linear feet of wood. We burnt through our router pretty quickly in the first day. I would recommend renting an industrial router.
- Be fire smart. Make sure your municipality allows wood-fired saunas and check if any permits are needed. Also, always make sure there’s a fire extinguisher on hand when using the sauna.
- Be resourceful. We kept our costs down by recycling some parts for our stove, door and strapping from a local reuse-it centre.
It’s all in the details. Careful planning and preparation meant the final construction of the sauna took under an hour.
How did the first assembly go?
Surprisingly easy. Even though we measured everything several times, it remained to be seen how everything would fit together. We banged the whole thing together with a dead blow hammer and didn’t have to make any secondary cuts or adjustments, which was a huge win.
What was the best “recycled” material you used in the construction?
I was stoked about the window for the door we found. It’s from an old fireplace and fit perfectly with the door design we had in mind. I think it cost us $5 from the Re-Use-It Centre.
Where did you get the stove?
We were on a tight timeline, so we had a buddy step-in to weld the stove for us. The stove is made out of 2 larger propane tanks and one small one from a recycling plant. Our little propane tank stove gets a great draw and easily keeps the sauna above 70°C.
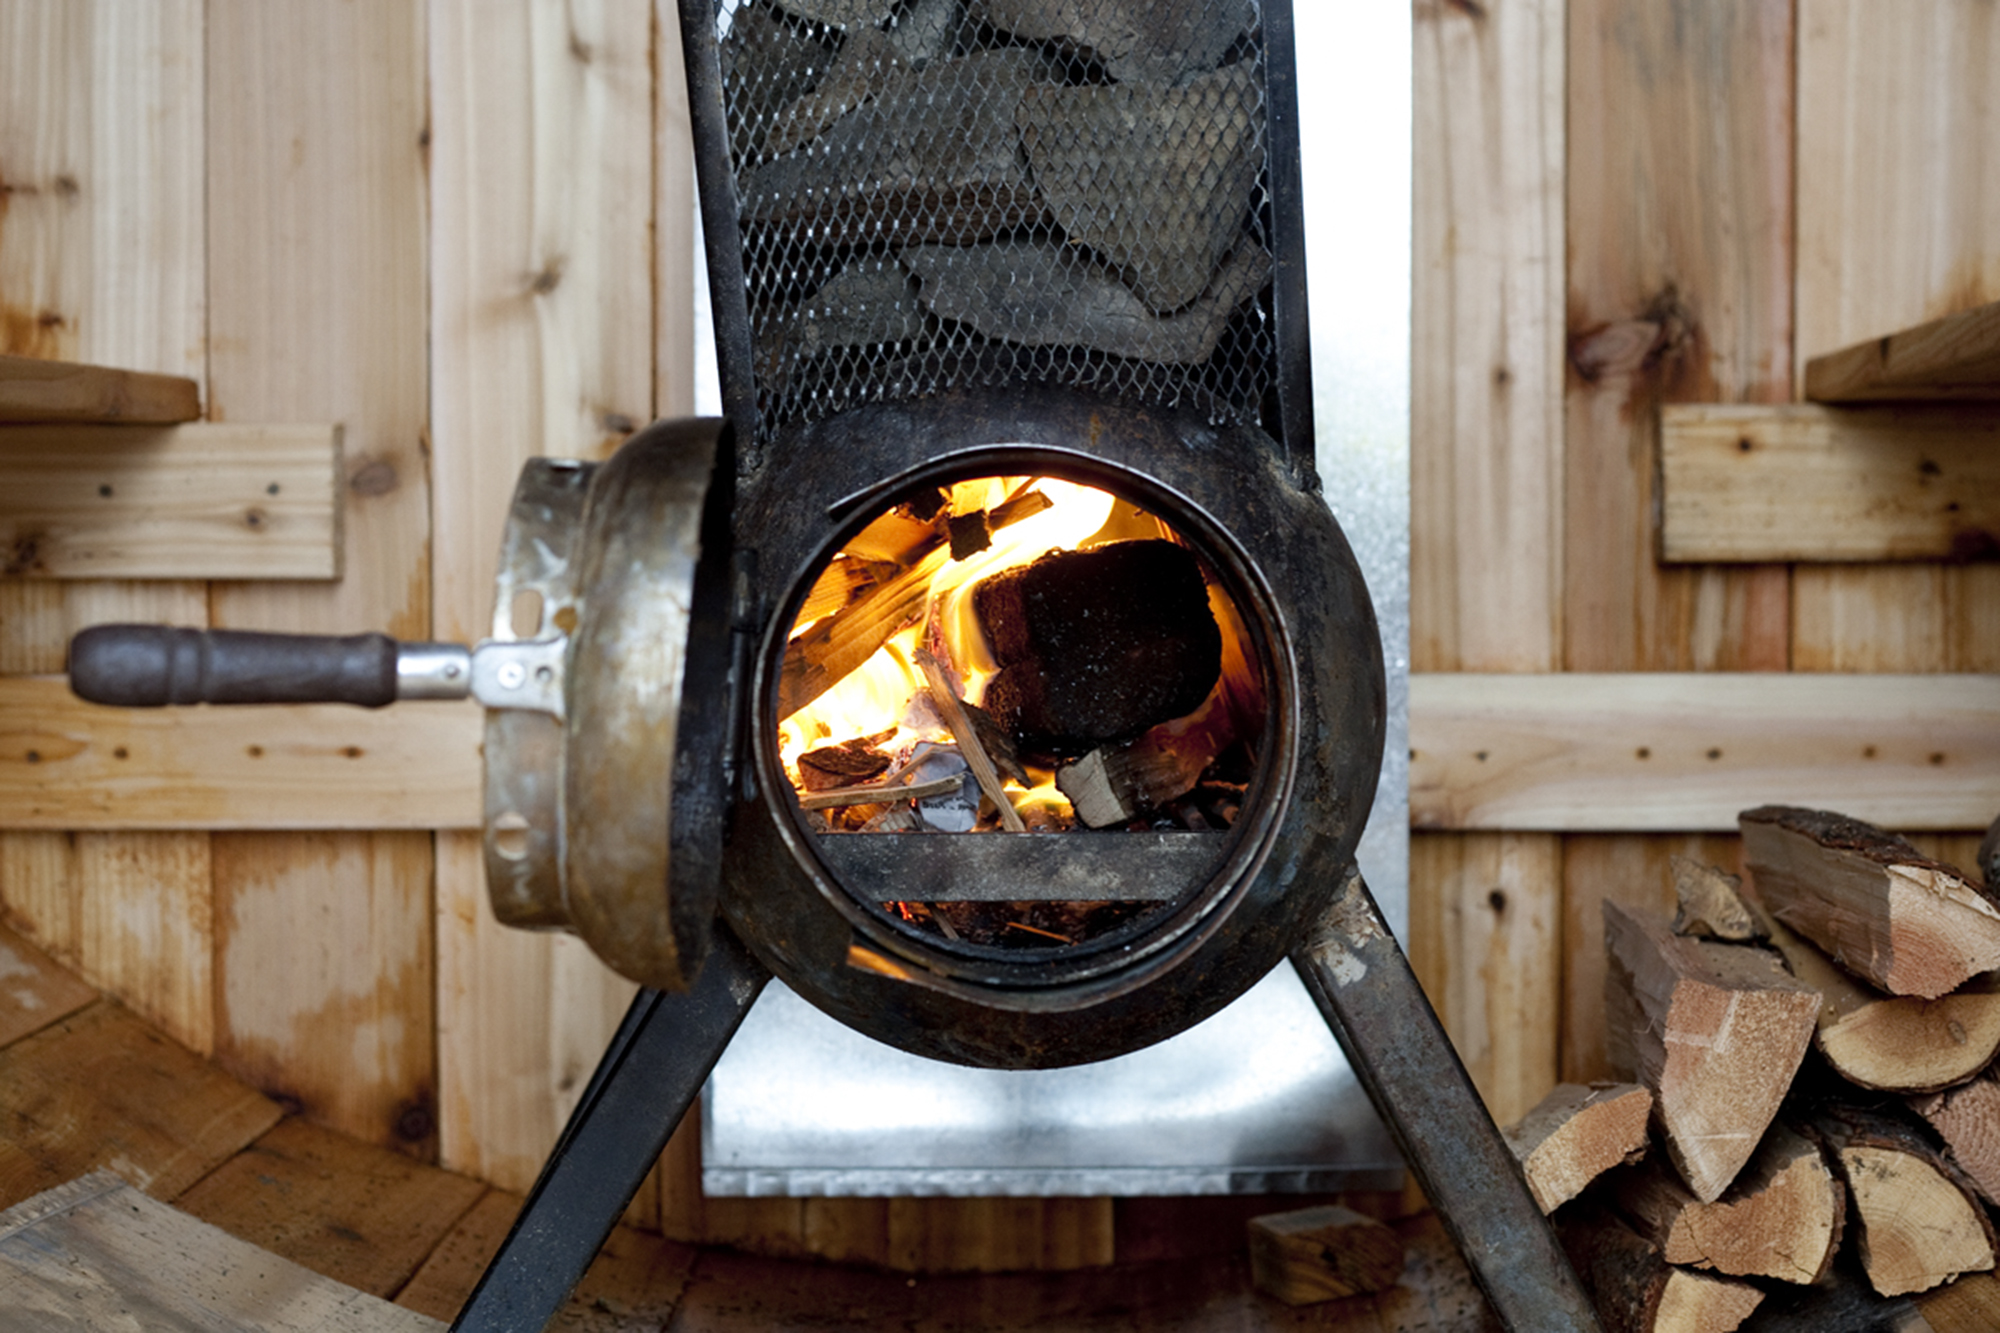
Toasty warm. The welded propane tanks stove keeps the sauna above 70°C.
If you were to build your DIY outdoor sauna again, what would you do differently?
You could go a bit bigger. Our sauna holds 4-6 people pretty comfortably, but it wouldn’t take much more to build one 50% bigger. The drawback from this is, of course, the additional cost and the loss of portability.
Any words of advice to aspiring DIY outdoor sauna builders?
Build one! It’s not that difficult. With a couple of friends, you can knock it out in a weekend. Also, I highly recommend that you keep the sauna a ‘no phone zone’. Some of the best discussions I’ve had have been while sweating it out in a sauna.
It’s no doubt this project was passion driven, it shows with the craftsmanship of the build by Kris and in the edit by Ryan Harris of Beacon Media Group. How could you not be stoked to hop in a piping hot sauna in the woods with good company? I’m fairly confident this little slice of transportable heaven will pop up in our neck of the woods again; I just can’t wait to see where!
Can’t get enough of our videos and posts? For more adventure porn, inspiration and general awesomeness check out:
- Changing of Seasons – showing off all that Whistler in the fall has to offer
- Alpine Adventures – featuring an amazing day of Whistler heli biking and boarding
- The Canadian Beach Party – showcasing epic Whistler alpine activities
- Adventure is Waiting: Beautiful BC – detailing how you can create your own Whistler adventures
- The Return of Summer – teasing you with everything that is great about summer in Whistler